
Assembly Guide
1.Assembly Tips (Example: Oil Drum)
This section is about the assembly tips, using the oil drum paper model as an example. There is also the method to assemble it by doing Step 9 first than Step 1.
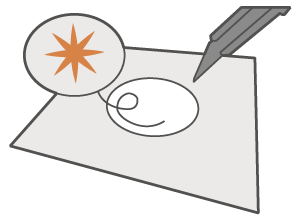
1)Scoring:Score the fold lines using a ballpoint awl and a ruler. This makes the paper easier to fold.
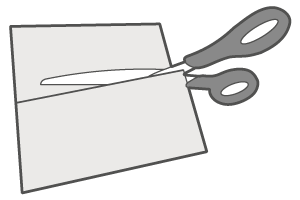
2)Cutting:Cut out the template according to the instructions in “2. Signs and Terms Used”.
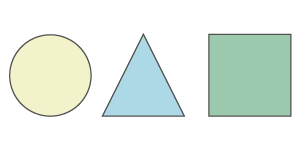
3)Painting:Color the cut edges with markers or colored pencils.
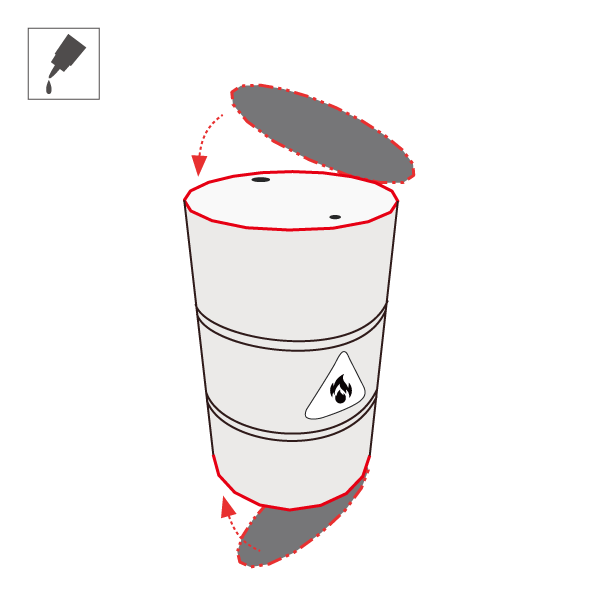
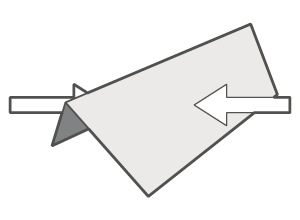
4)Folding and Bending:Refer to the figure below and fold the tabs at the Glue Spots, gently bending the surface around a cylindrical object.
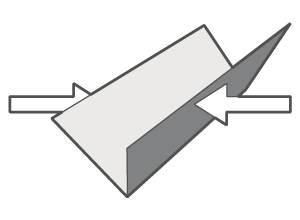
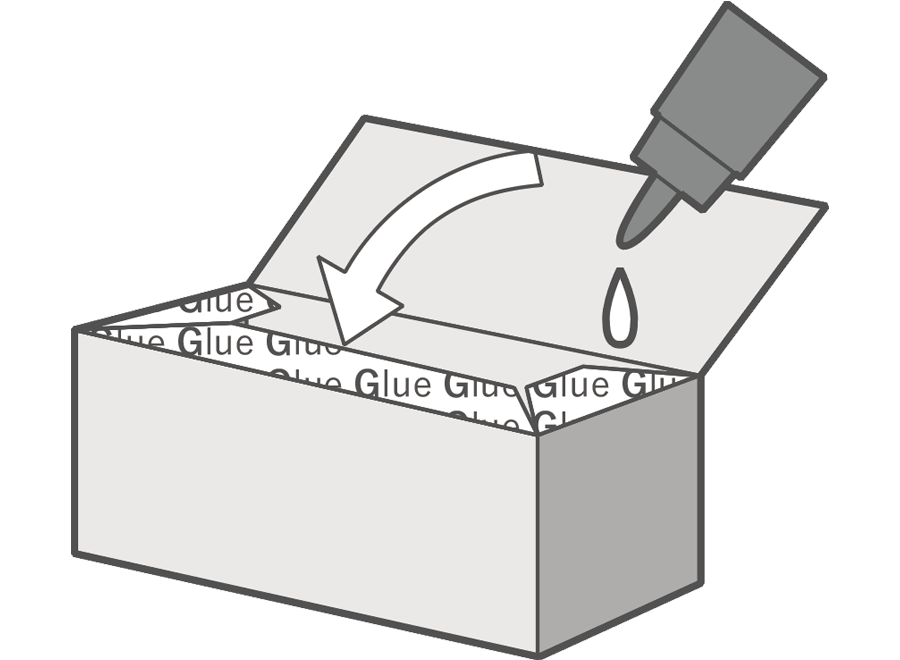
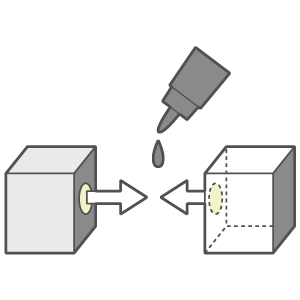
5)Gluing ①:Attach the Glue Spots according to “2. Signs and Terms Used,” or refer to the “How to Assemble” in the Individual Assembly Instructions for each paper model.
6)Pressing:Press the red seam line with a metal ball tool referring to the figure below. This makes it less noticeable than before.
7)Gluing ②:5) as well.
8)Removing:If the surface gets dirty with glue, you can make it less noticeable with “a cotton swab and lacquer thinner”.
9)Spraying:If you want to store the models for a long time or change the glossiness, refer to the sprays of “materials・ tools” on my website.
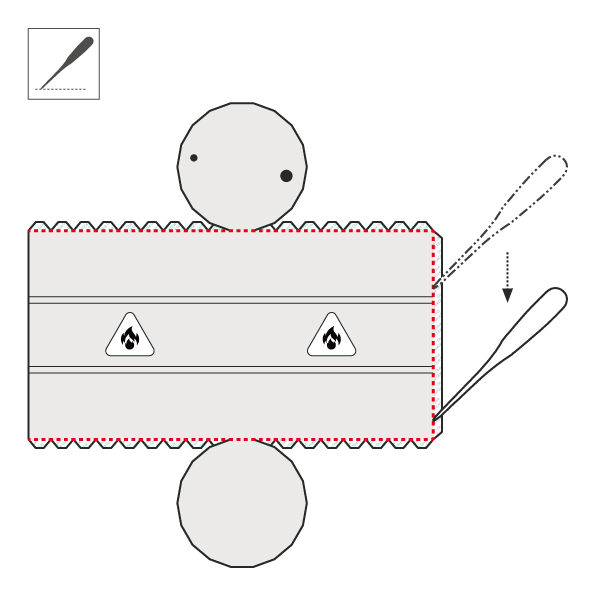
1)Scoring
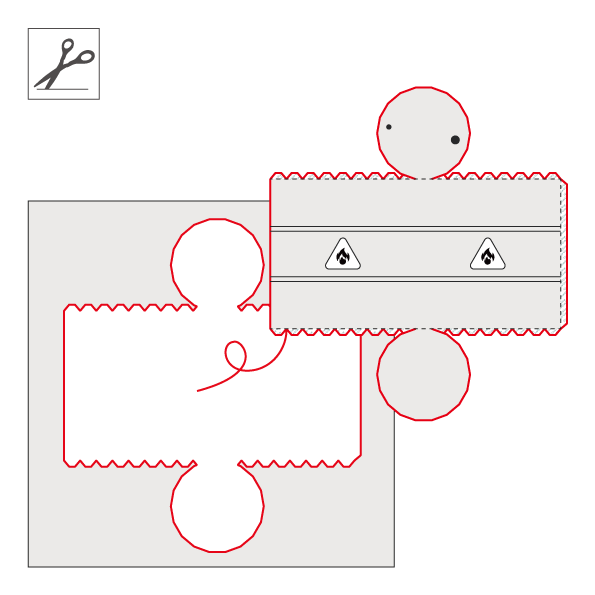
2)Cutting

3)Painting
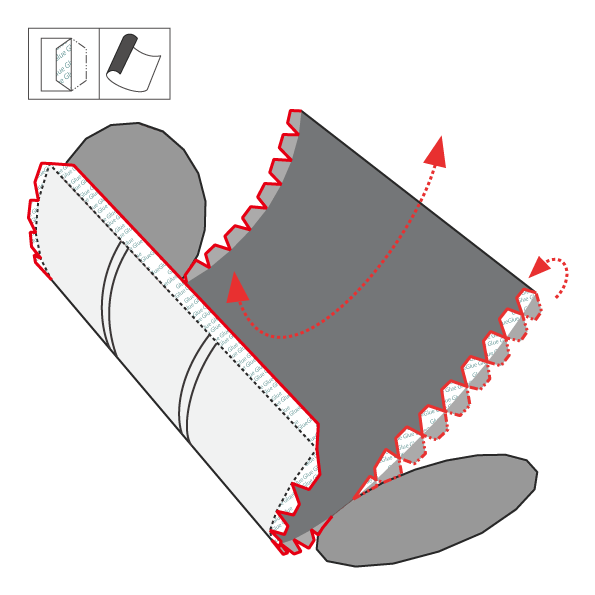
4)Folding and Bending
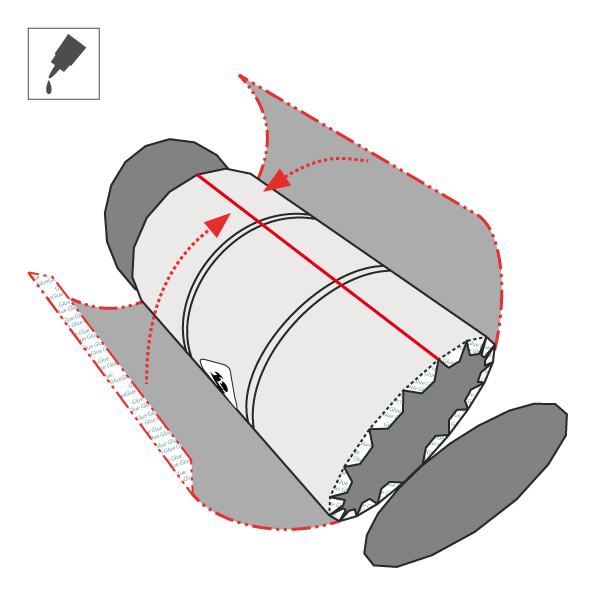
5)Gluing ①
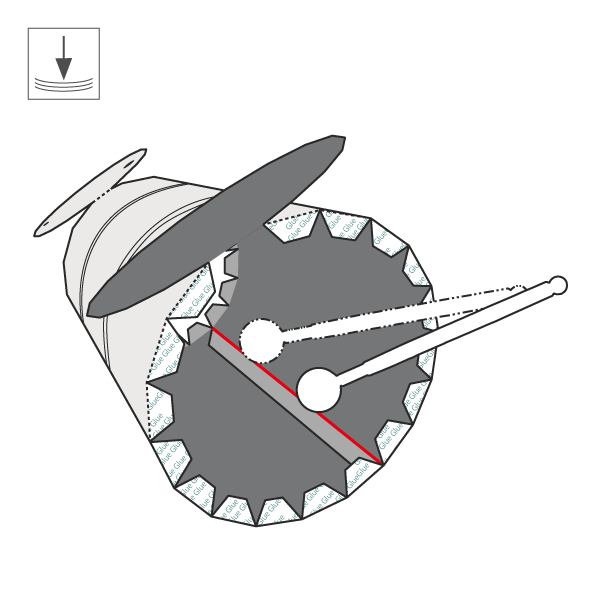
6)Pressing
7)Gluing ②
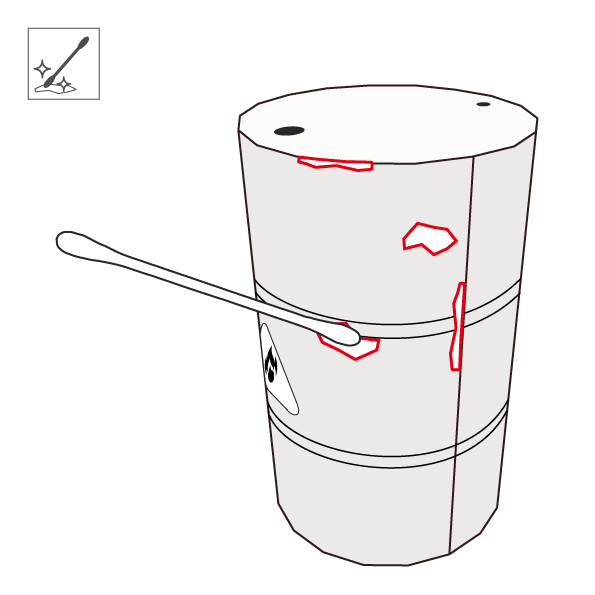
8)Removing
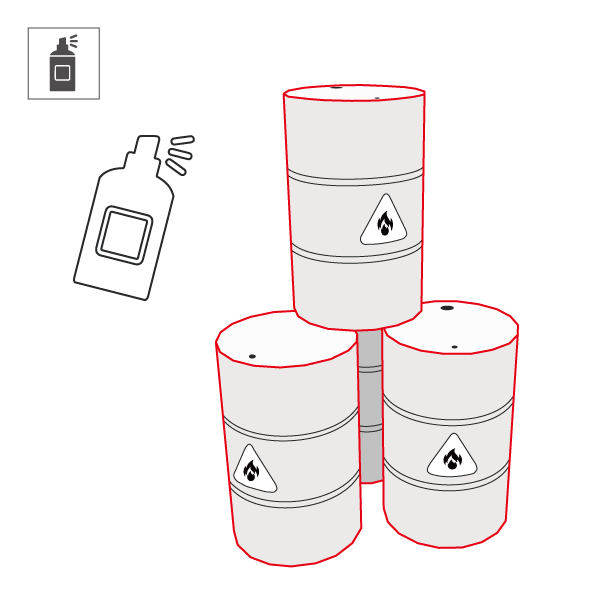
9)Spraying
2.Signs and Terms Used
These signs and terms used are applied during assembly.
Additional signs and terms used not shown on this section may be used for specific paper models.

(Solid Line)
Cut Line

(Dotted Line)
Mountain Fold

(One-Dot Chain Line)
Valley Fold
(Pattern 1)
Glue Spot
(Pattern 2)
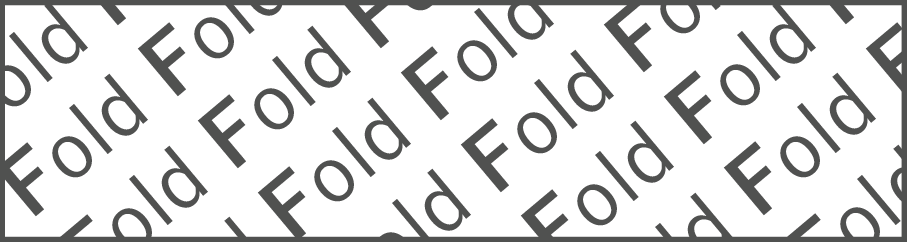
Fold Tab

(Pattern 3)
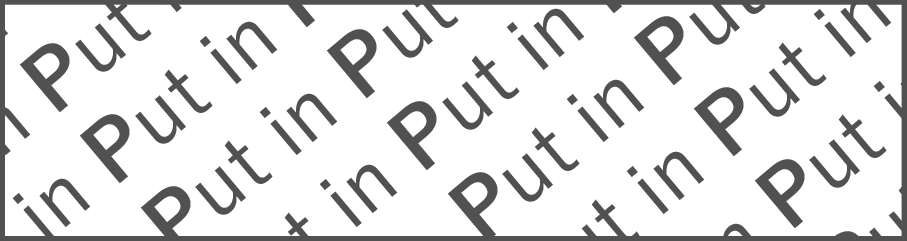
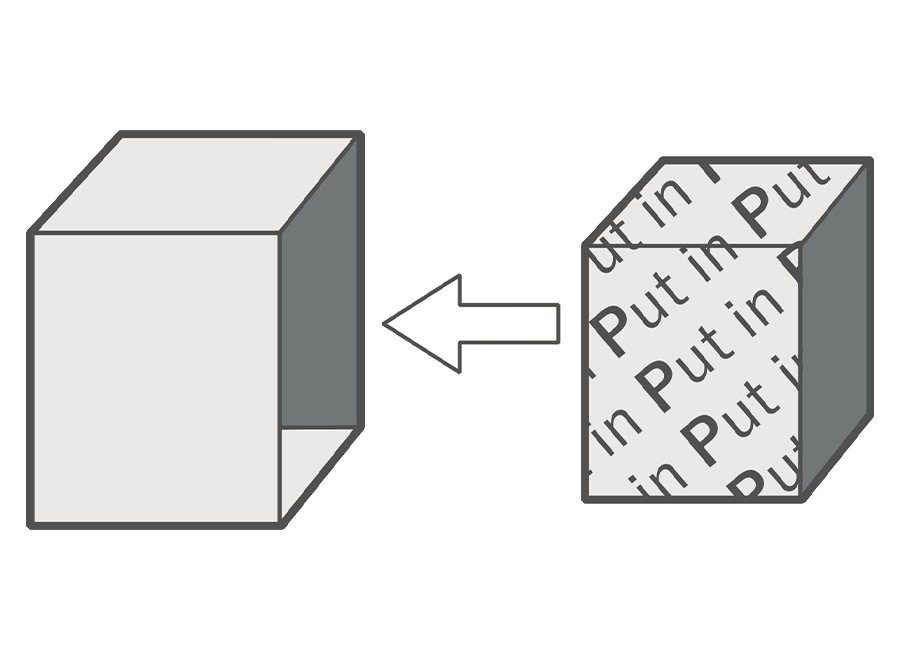
Put in

Cut-Out Mark
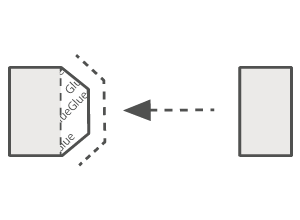
Glue Mark
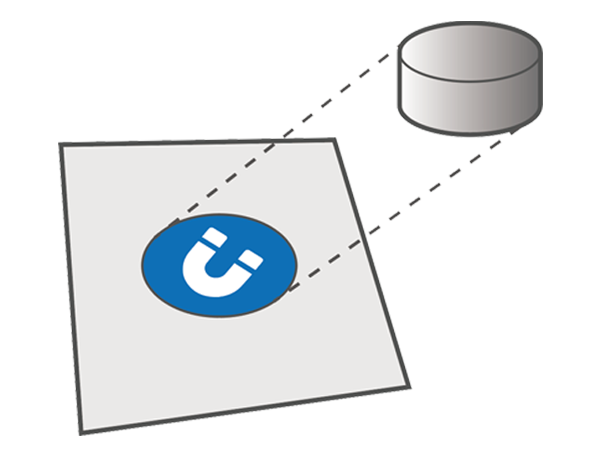
Magnet Mark

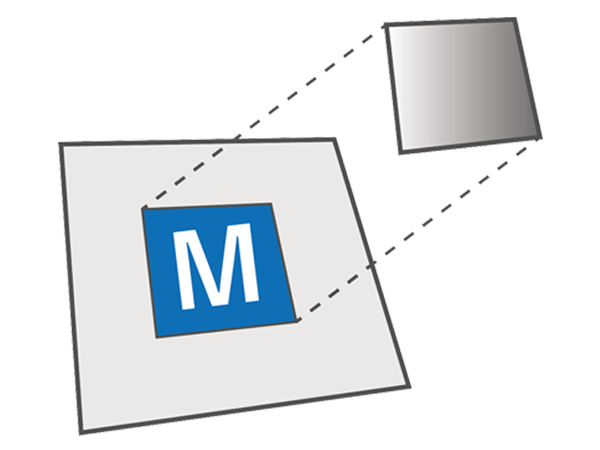
Metal Plate Mark

Guide
3.Cautions
*Be very careful when handling a cutter knife and scissors. Also, please lay a cutting mat on the table.
*Use glue in fully ventilated spases.
*If you spray the models, wear rubber gloves and a mask.